
Using fire!
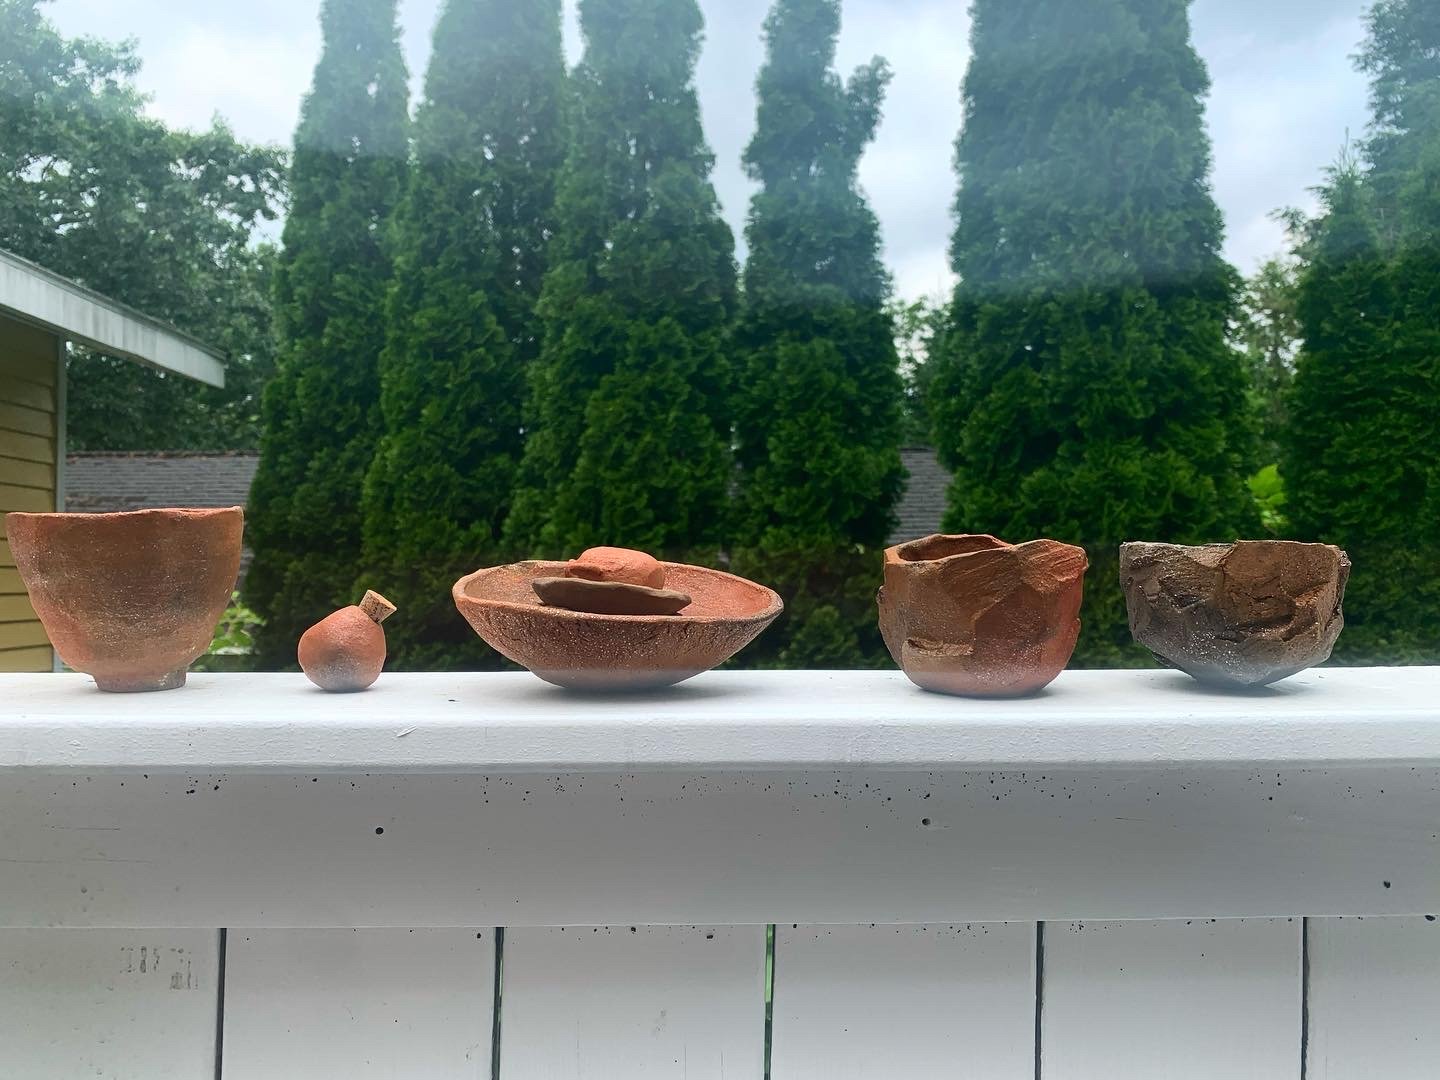
I fell in love with pit firing while having the incredible opportunity to take a workshop from Petrona, a local of San Roque de Cumbaza in the cloud forests of Peru. There, the bright yellow and iron-rich soil allowed for some of the most beautiful reds I have yet to fire. The process is incredibly labor intensive, as the deposits lie on the side of a very steep mountain. These areas are protected by the people that source the clay for their personal wares. After sourcing the clay, Petrona hiked back down to her village and showed me how to apply the grog- bits of finely ground already fired clay (usually from broken pots they recycle using this process). After grinding the yellow clay with my feet, the grog Petrona would toss in, created a muted gray,and a clay body that would shape quickly and durably. Using coils, Petrona showed me how to sculpt my bowl using just my hands and a husk from a gourd-like nut. After the clay dried we brought our wares to the center of the village where she built a fire using a machete and satika wood. The pots were placed within and atop the fire and in less than 30 minutes they emerged with a gorgeous red finish. She had brought some achiote for us to use around the rim to give it a finishing design. The materials of each location will yield different results because of each place’s unique ecosystem and geology. I was so excited by how accessible, natural, and holistic pit-fired earthenware clay was, and I’ve been having a lot of fun experimenting in different landscapes with wild clays since.


Applying what I learned from Petrona in San Roque at home! I learned a lot about how to transfer these techniques from the local materials I learned with, to the ‘local’ materials I am able to source from home. I started by watching some videos by Andy Ward on youtube here https://youtu.be/w1aPlVBm35I I bought some of the micaceous clay he uses in New Mexico, got some pine (something that burns hot and fast), and dug a small pit in the yard. I placed my bisqued pots on the outside of the fire to kind of prep them to the heat so they wouldn’t be shocked and crack. I then placed the on the fire and covered the pots with some more sticks. I let this burn completely, adding wood until the pots “glowed” and then let them sit in the ash overnight. When I removed them they were warm, and if I was lucky had some of the black marks from trapped carbon on them! the difference I have found between the pine and satika woods is the “purity” of the fire. Pine leaves behind a sap, and the satika burns a lot “cleaner”. Petrona preferred minimal black marks on her pots, but I don’t really mind it! It’s all the potter’s preference.


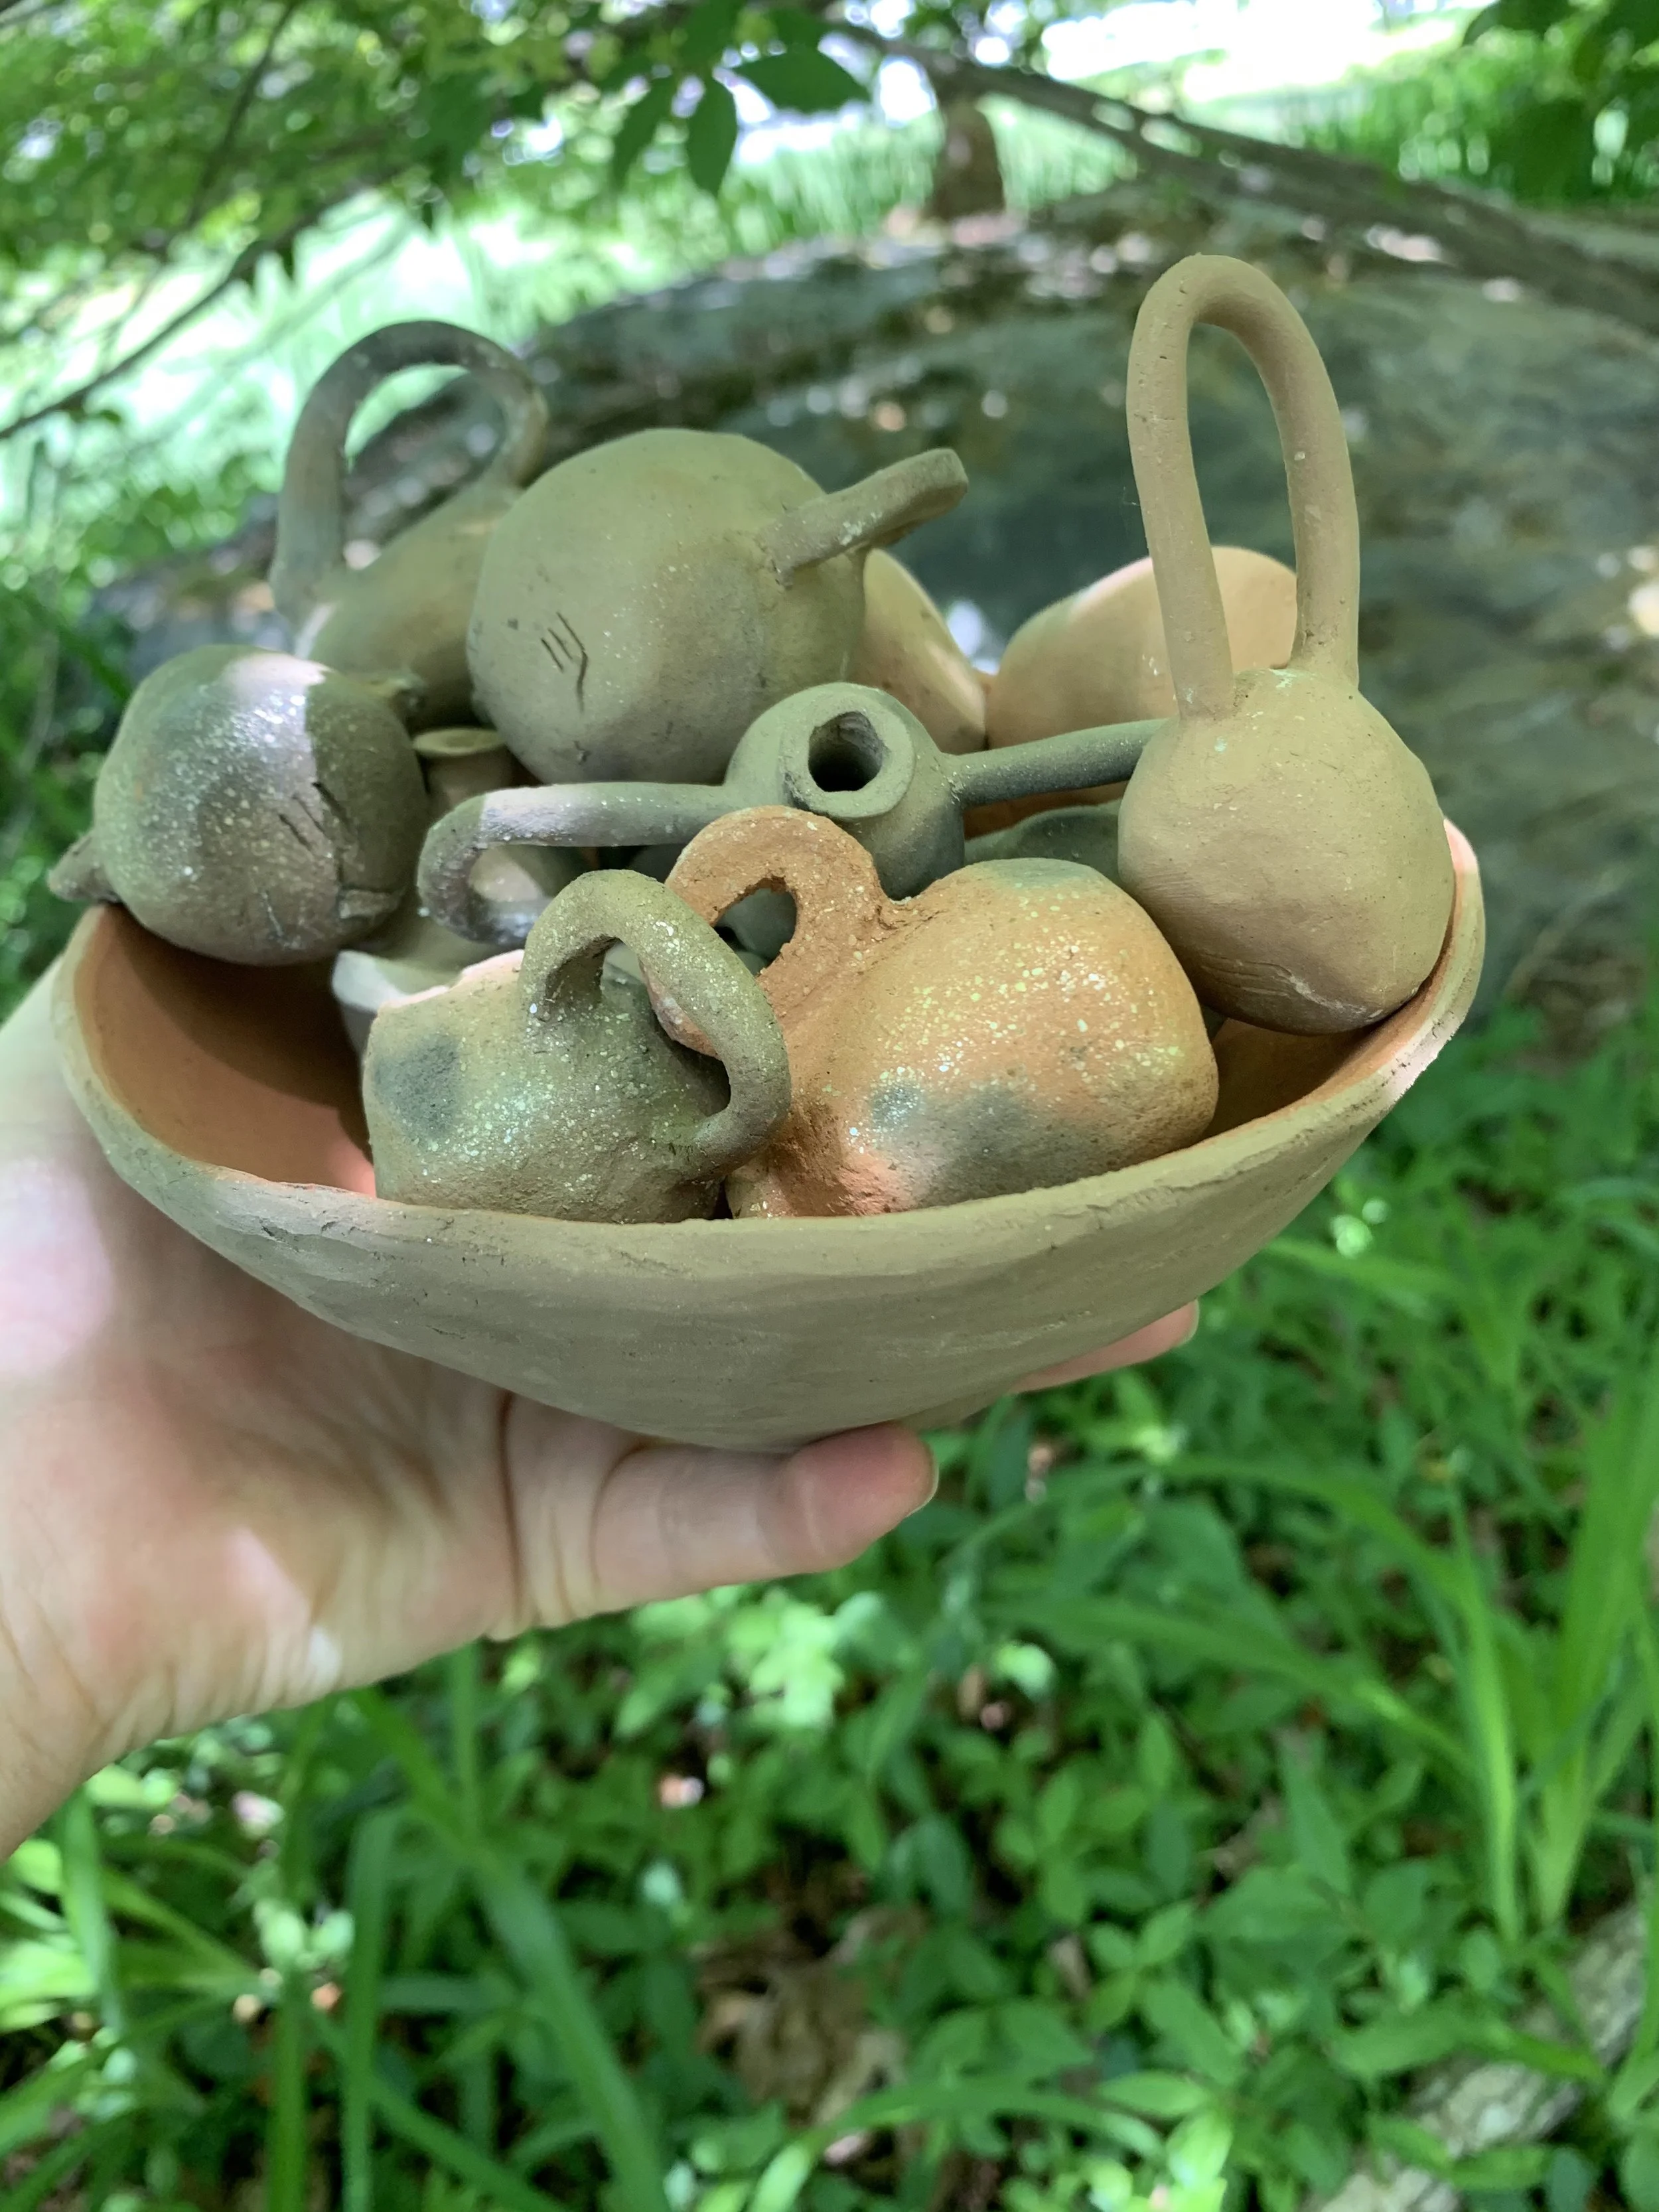


A lot of my process considers how the artwork decomposes after time— how quickly? What is the impact? I think about this in archival and environmental terms and it will often render me creatively paralyzed. Moving towards clay, wood and stone as primary materials is a helpful solution. These clay imprints using the pit fire method are a beautiful way to consume but not too much. I am in love with the way the alchemic reactions mimic the landscape in which it is fired, and the simple purposeful forms that hold and carry water, food, and information in the case of the imprints.

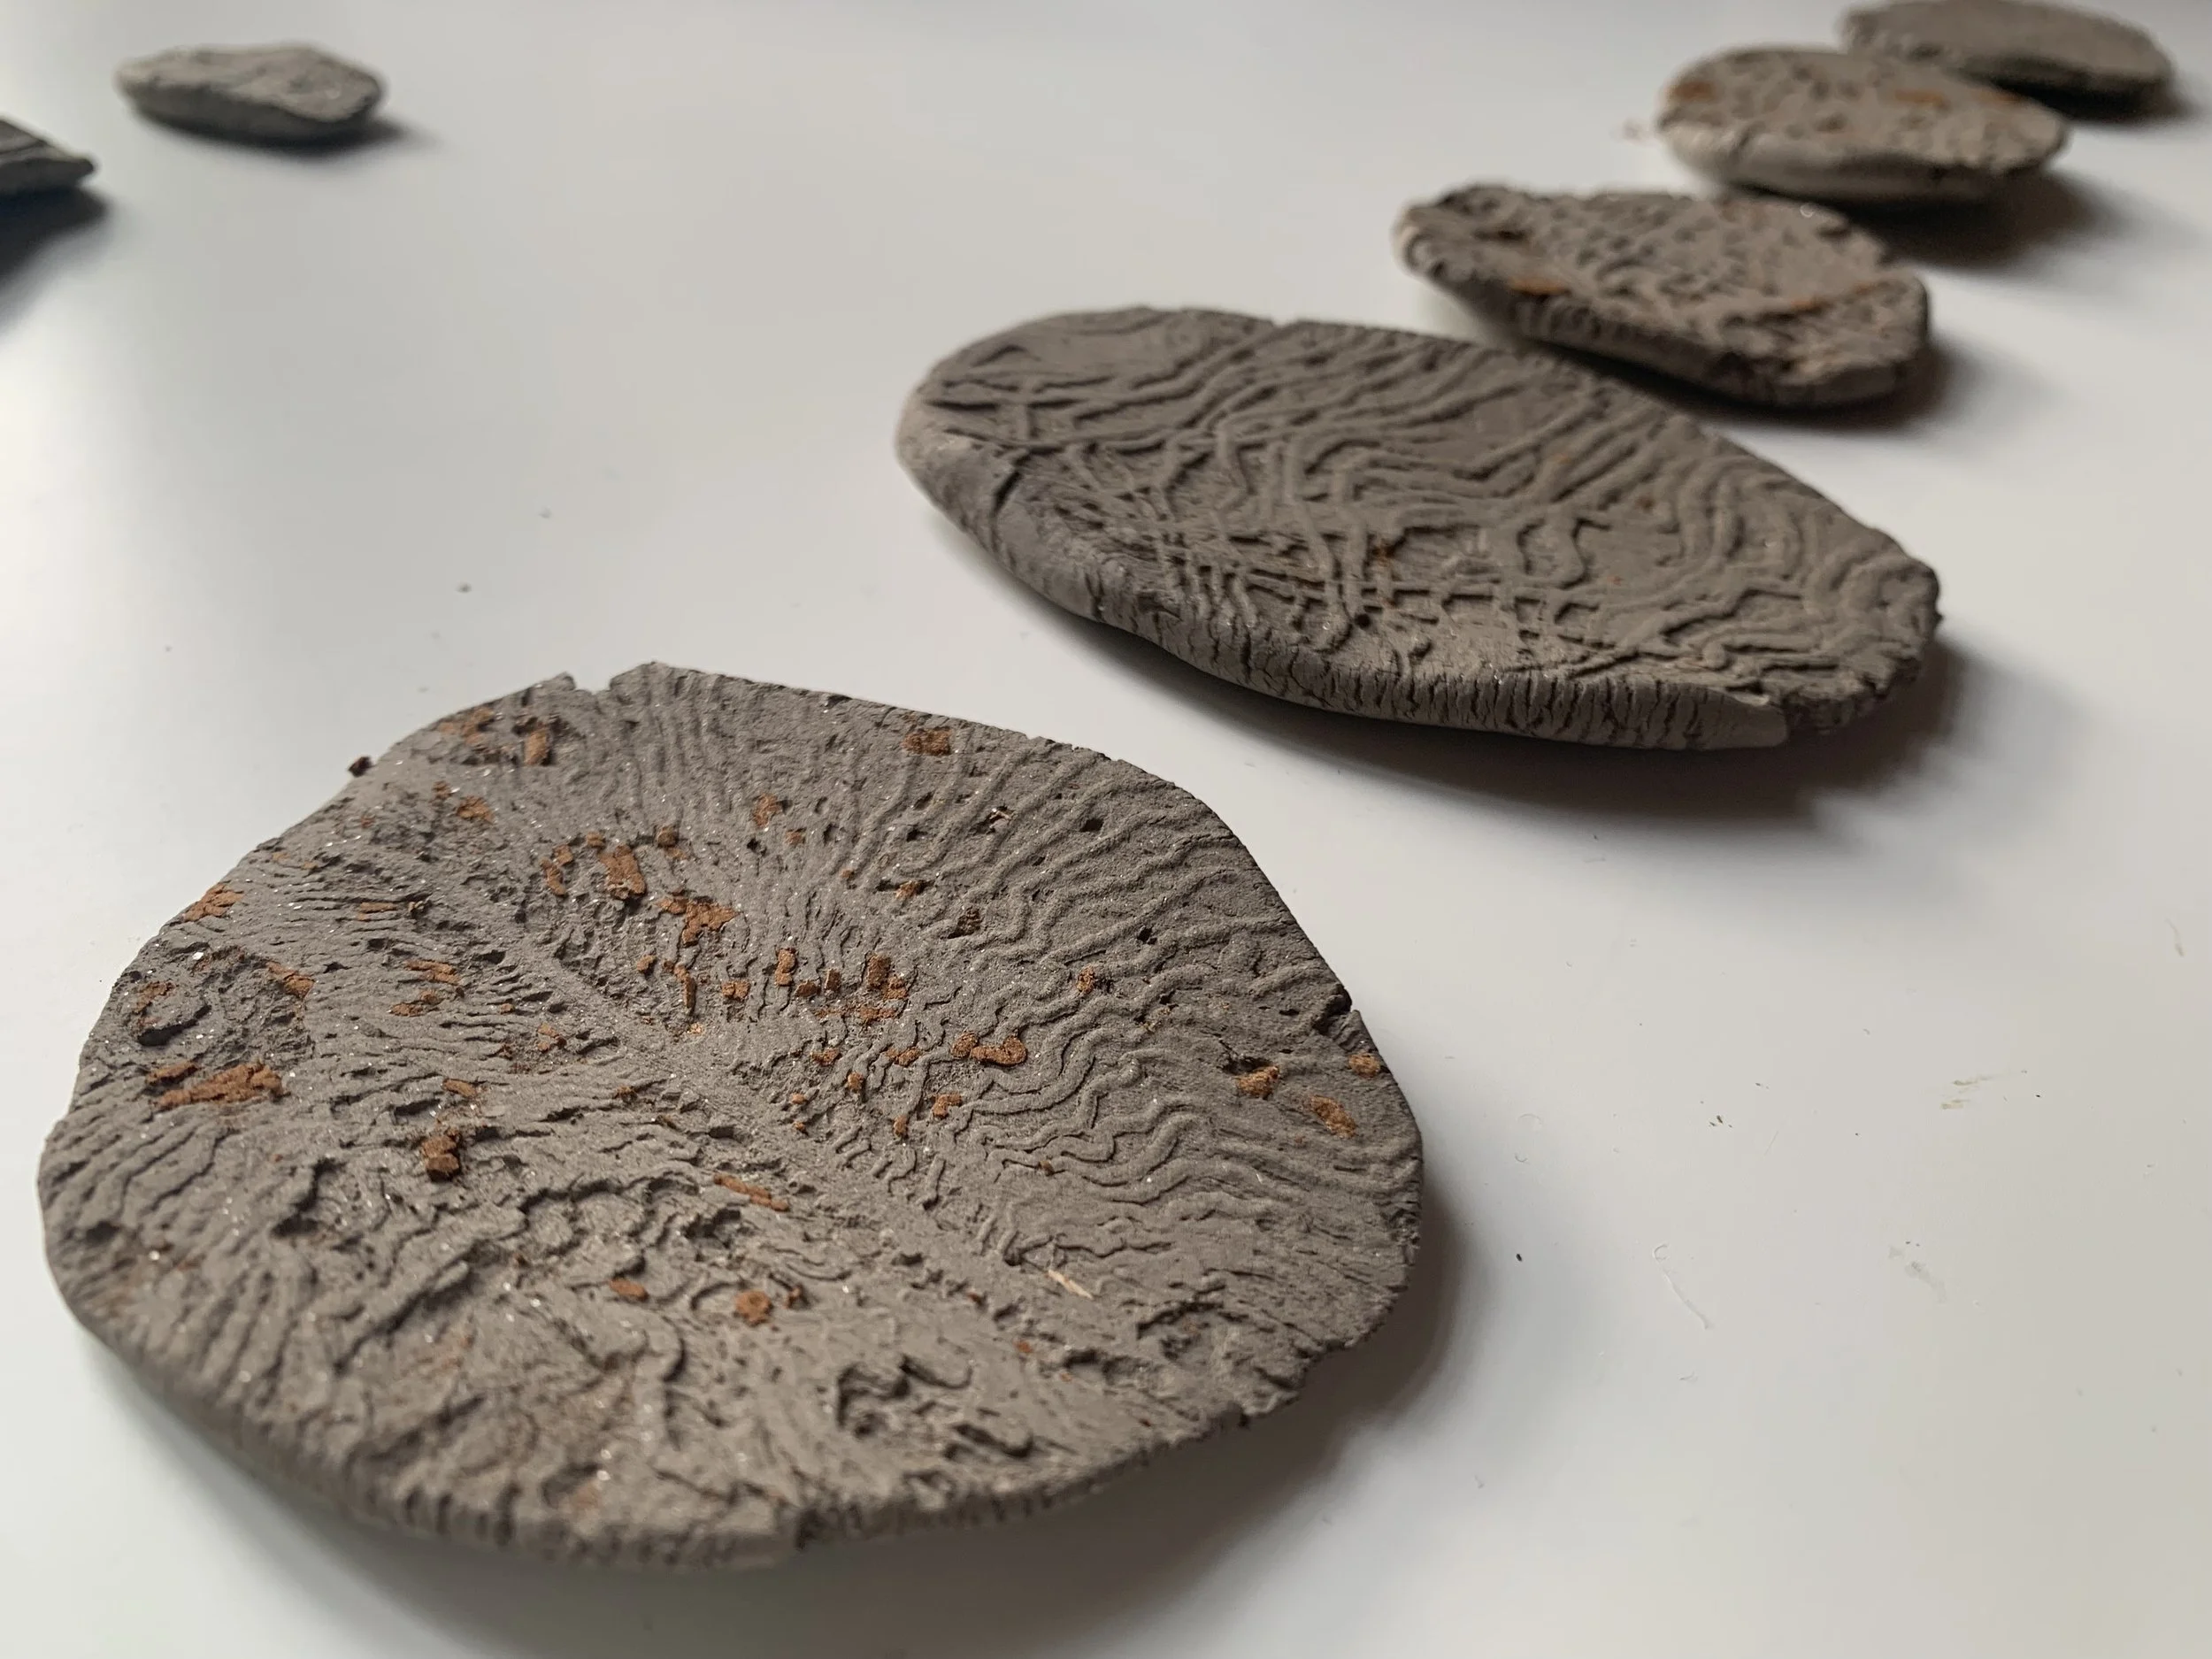


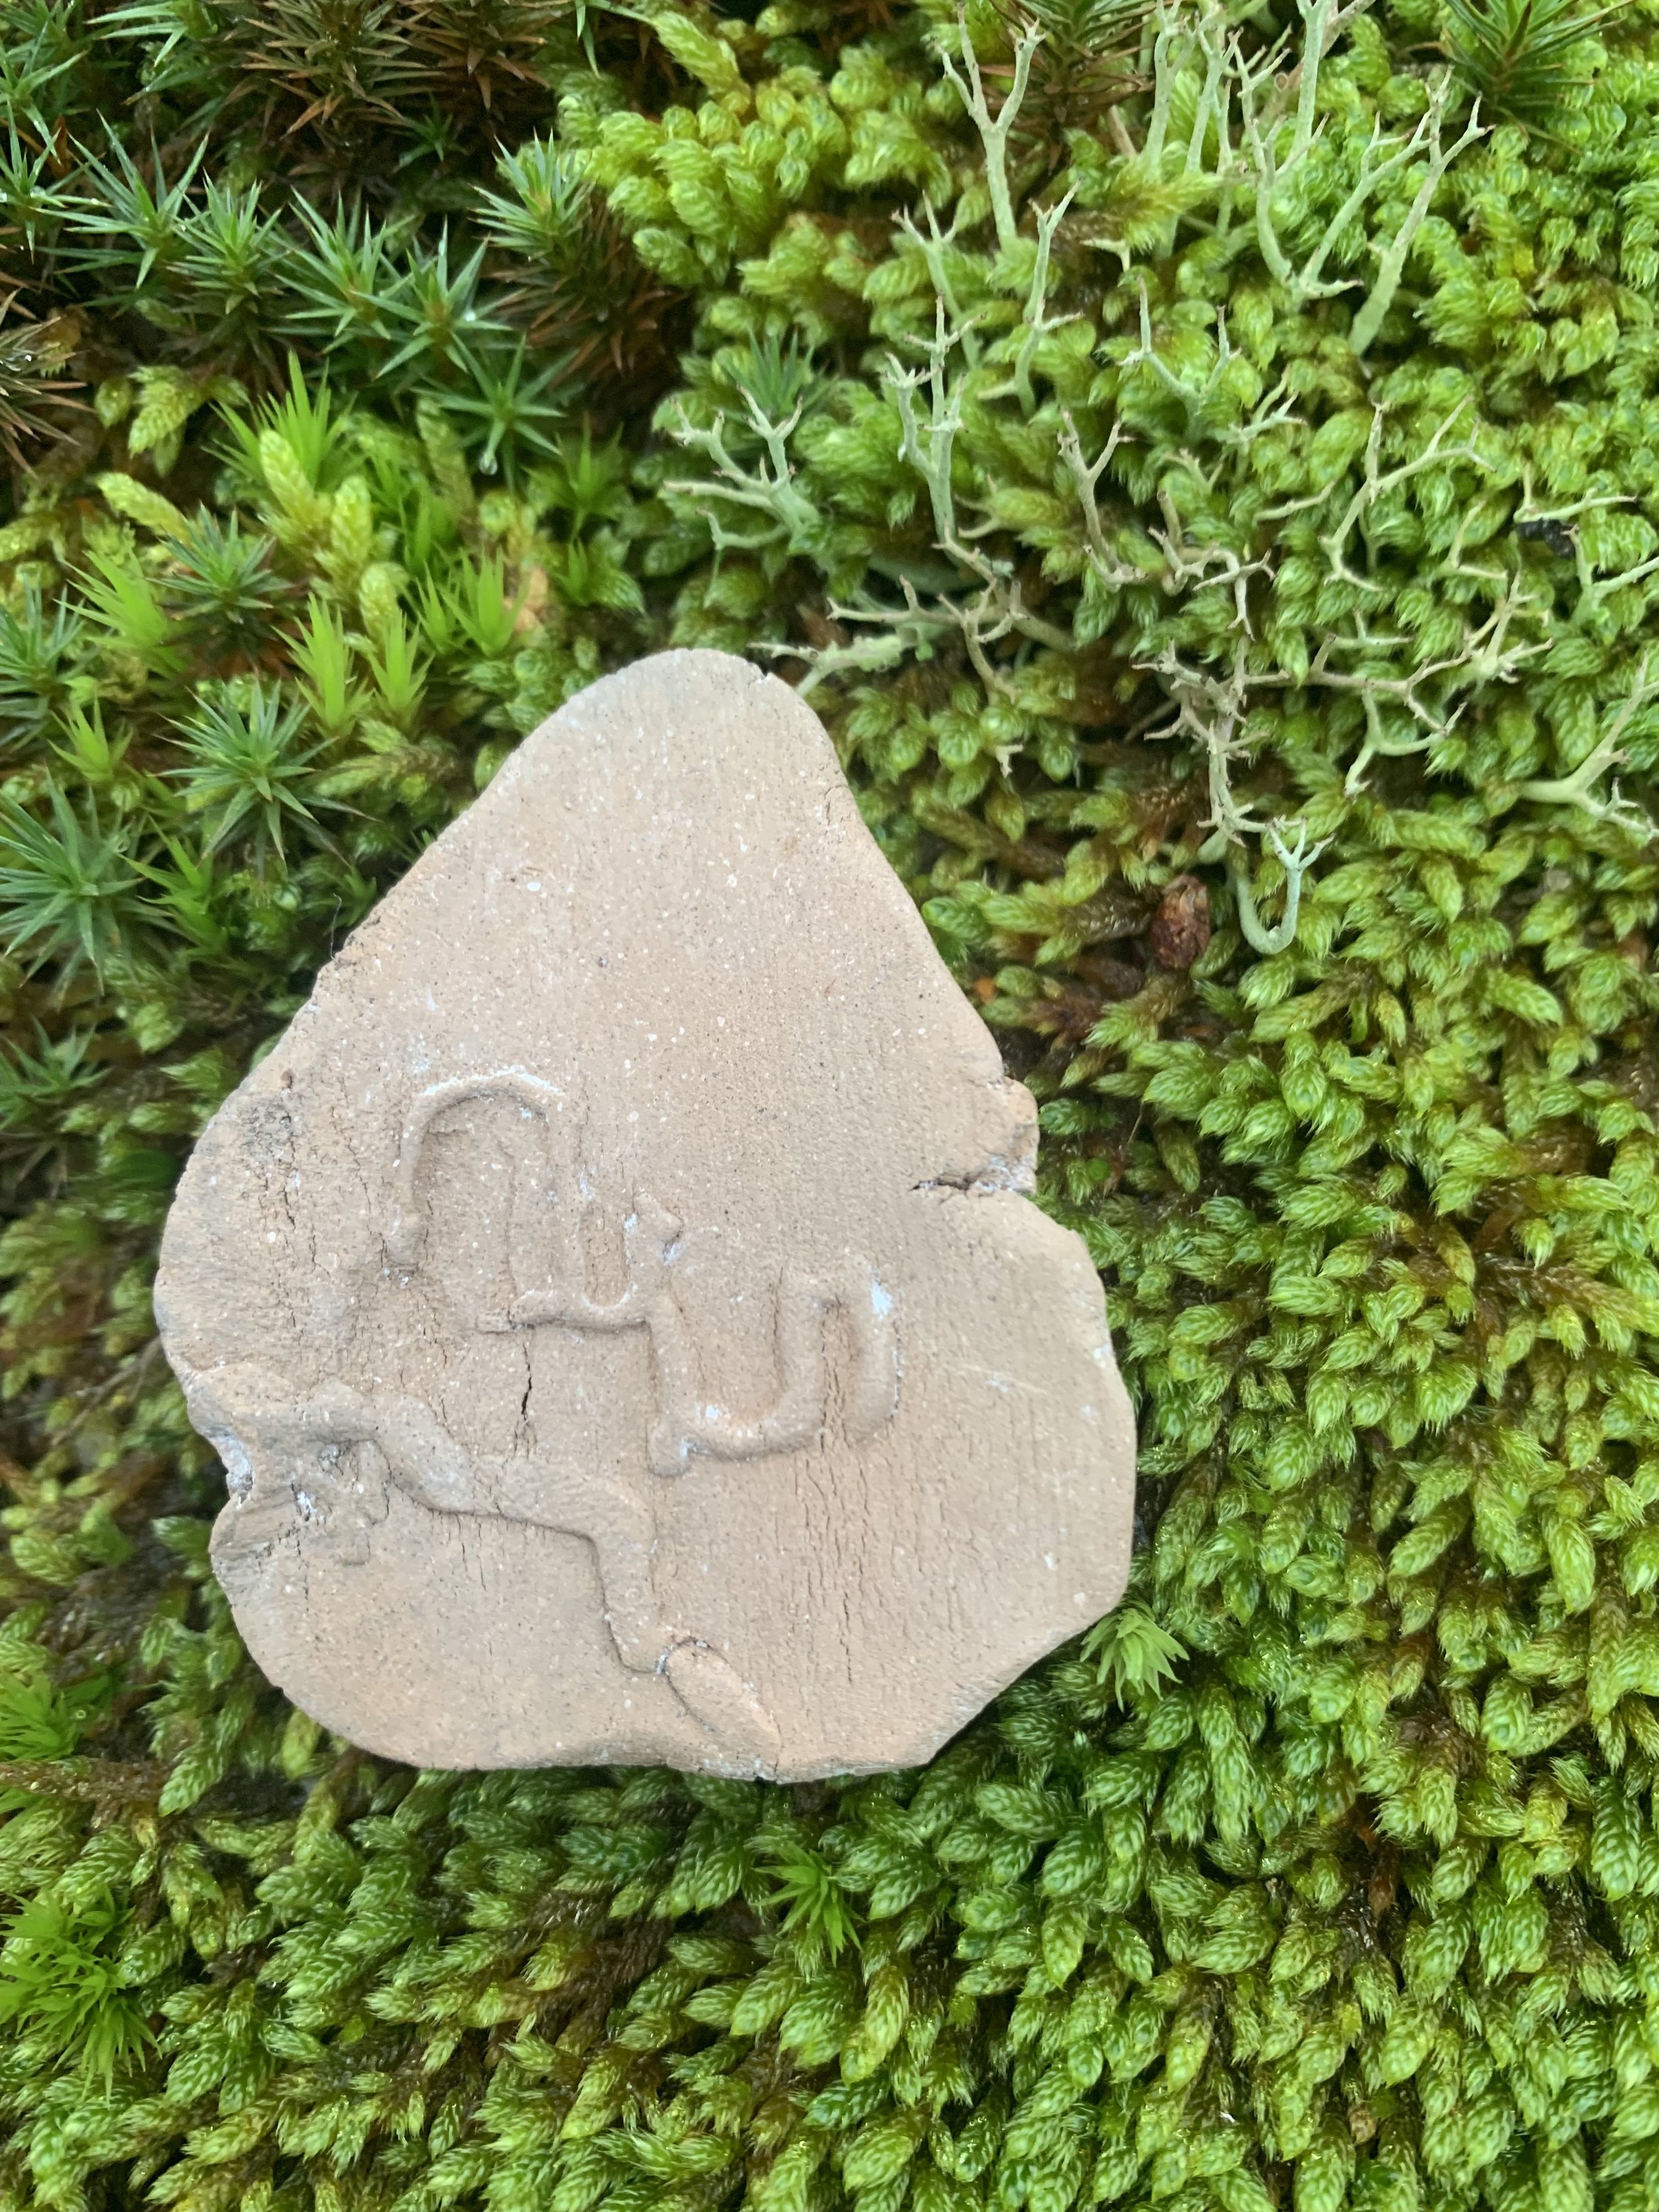


Pit-fired beetle galleries using felled trees, lichen, moss and seaweed from the island of Örö, Finland.
I love how this process replicates the natural objects that live in the space surrounding the firing. No matter where it is taking place, these molecular patterns remind us all that we are made of the same stuff —✨dust